Expert Guide to Restoring Vintage Wooden Furniture
About us
-
Inspect the structural integrity and identify the original wood species used in the vintage piece.
-
Remove accumulated layers of old varnish or wax safely without damaging the delicate wood underneath.
-
Repair loose joints, fill deep scratches, and apply protective coats of oil, wax, or modern varnish.
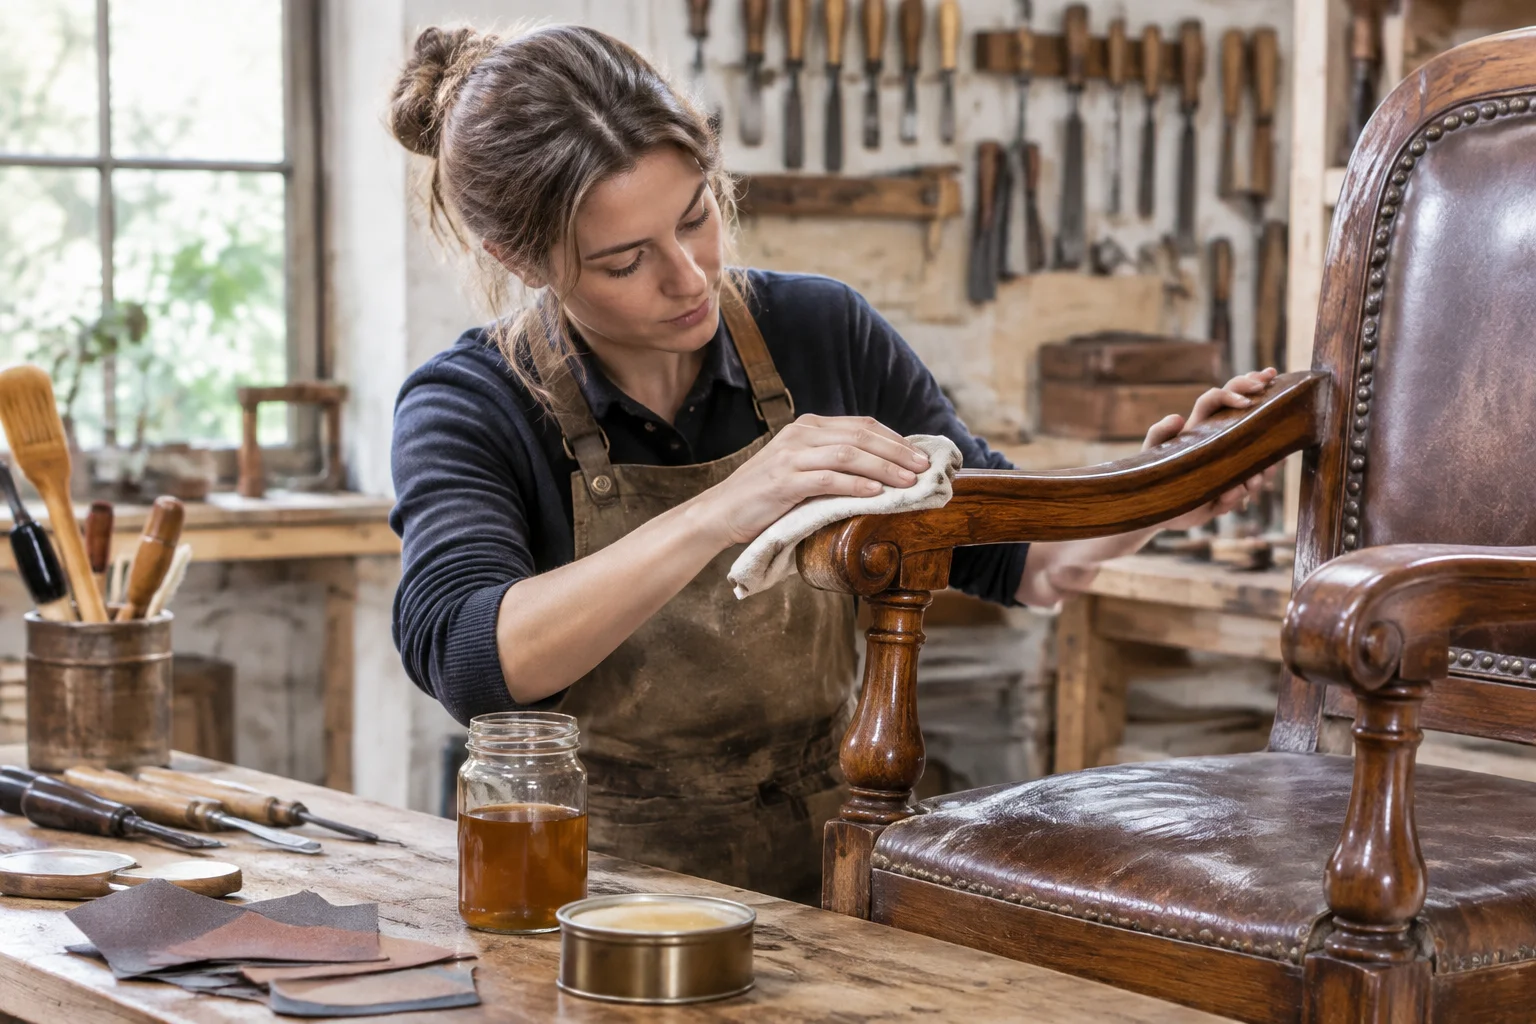
Breathing new life into old wooden furniture brings a unique satisfaction that buying new pieces simply cannot match. Every scratch, dent, and faded patch tells a story about the hands that touched the wood decades ago. Preserving this history requires a careful approach, right tools, and an understanding of how traditional finishes behave over time. Restoring vintage items at home transforms a tired room ornament into a cherished centerpiece.
The journey begins with observation rather than immediate action. Before reaching for sandpaper or chemical strippers, the piece demands a thorough examination under good light. Small structural flaws and hidden maker marks often dictate the entire restoration strategy, preventing costly mistakes during the cleanup phase.
Assessing the Piece and Its Condition
Look closely at the overall stability of the furniture before touching the surface. Wobbly legs, cracked panels, and loose joints need attention before any cosmetic work begins. Press gently on different sections to locate hidden weaknesses in the frame. Structural integrity always comes before beauty, because a newly polished surface will quickly crack if the underlying joints fail.
Identify the type of wood and the nature of the existing finish. Hardwoods like oak, walnut, and mahogany respond differently to scraping and sanding compared to softer pines. Run a fingernail across the finish to test its hardness. Brittle finishes flake off easily, while rubbery or sticky surfaces indicate old oil or wax applications that require specific solvents.
Document every existing flaw with photographs before starting. These reference images help track progress and ensure that original decorative elements return to their exact original positions during reassembly. Taking time at this stage saves endless frustration later in the project.
Removing the Old Finish Safely
Stripping away decades of grime and degraded varnish exposes the raw beauty of the wood grain. Start with the gentlest method possible to preserve the natural patina. Chemical strippers work fast, but they can raise wood fibers and dissolve historic glue if left on too long. Apply the chosen solvent in small sections and scrape gently in the direction of the grain.
Scrapers made of brass or hard plastic protect the delicate wood surface from gouges. Steel wool dipped in mineral spirits helps lift dissolved residue out of carved details and corners. Wipe away sludge continuously with clean cotton cloths to keep the working area visible.
- Work in a well-ventilated space wearing protective gloves and safety glasses.
- Apply chemical strippers using natural bristle brushes in smooth strokes.
- Scrape softened varnish gently following the natural direction of the wood grain.
- Scrub intricate carvings carefully with fine steel wool and mineral spirits.
- Neutralize chemical residues completely using denatured alcohol or water as specified.
- Allow the bare wood to dry completely for at least forty-eight hours.
Once the old finish is gone, inspect the bare wood for lingering stains and water rings. Light sanding with fine-grit paper smooths out raised fibers. Never press too hard, as aggressive sanding erases the soft earlywood rings and creates unnatural flat spots on curved surfaces.
Repairing Joints and Deep Scratches
Loose joinery ruins the strength of antique chairs and tables. Disassemble loose mortise and tenon joints completely whenever possible. Scrape away old, crystallized animal glue using a small chisel or a sharp knife blade, because fresh adhesive will not bond to contaminated surfaces. Apply modern wood glue generously inside the mortise and clamp the parts securely.
Deep gouges and dents detract from an otherwise smooth surface. Steaming out minor dents with a damp cloth and a hot iron works wonders on unsealed wood fibers. For missing chunks, mix fine sanding dust from the same wood species with clear epoxy to create a custom filler that matches the surrounding tone.
Sand all repaired areas flat once the adhesive and fillers cure completely. Blend the repaired spots into the surrounding wood by feathering the edges with fine sandpaper. Clean away all sanding dust thoroughly using a tack cloth before moving to the final protective coating stage.
Choosing Between Wax, Oil, and Varnish
The final protective layer dictates both the look and the longevity of the restored piece. Wax provides a warm, low-luster sheen that feels natural to the touch. It allows old wood to breathe, but it offers minimal protection against spills and heat rings, requiring periodic reapplication every few months.
Oil penetrates deep into the wood fibers to highlight the natural grain patterns and enrich the overall color depth. Tung oil and boiled linseed oil cure slowly, creating a tough, water-resistant barrier from within the wood rather than sitting as a plastic film on top of it.
Varnish forms a hard, durable shield that stands up well to daily use and moisture. Modern wipe-on varnishes apply easily in thin layers without brush marks. Choose a satin or matte formulation to maintain the vintage appearance, avoiding the harsh glare of high-gloss polyurethane finishes on antique surfaces.
Maintenance plays the final role in keeping restored furniture looking pristine for decades. Place wooden items away from direct sunlight and heating vents to prevent the wood from drying out and cracking. Regular dusting with a soft microfiber cloth keeps abrasive particles from scratching the new protective finish, ensuring the piece remains a proud testament to traditional woodworking skill.
Our People

Nigina Kadirova
Master Restorer

Rustam Sharipov
Wood Finisher

Farzona Usmanova
Joinery Specialist

Parviz Rahimov
Surface Conservator
Our Advantages
-
Detailed guidance on assessing antique furniture condition before starting any complicated home repair work.
-
Safe removal techniques for old finishes that protect the original wood grain from accidental damage.
-
Practical instructions for fixing wobbly joints, structural cracks, and deep surface scratches using basic tools.
-
Clear comparisons between natural wax, nourishing oil, and durable varnish to help choose the right finish.
Comments


Gulnora Karimova
Frequently Asked Questions
Our Partners




 Viewlyqen
Dilshod Nazarov